Step-by-Step Guide to Claiming your Orbiter Finance X zkSync Era NFT
Welcome to the exciting era of Orbiter Finance X zkSync NFTs! If you’re eager to claim your very own NFT and be a part of this groundbreaking technology, you’ve come to the right place. In this step-by-step guide, we will walk you through the process of claiming your Orbiter Finance X zkSync Era NFT.
Step 1: Connect your Wallet
To begin, you will need to connect your cryptocurrency wallet to the Orbiter Finance platform. Make sure your wallet is compatible with zkSync and ensure that you have enough funds to cover any gas fees. Once your wallet is connected, you will be ready to proceed to the next step.
Step 2: Access the Claim Portal
Once your wallet is connected, navigate to the Orbiter Finance website and locate the Claim Portal. This portal will provide you with the necessary tools and instructions to claim your NFT. You may be required to verify your identity and complete any additional steps necessary to ensure a seamless claiming process.
Step 3: Verify your Eligibility
Before claiming your NFT, it’s important to verify your eligibility. Check the requirements and guidelines specified on the Orbiter Finance website to ensure that you meet all the necessary criteria. This may include holding a certain amount of Orbiter tokens, participating in specific events, or fulfilling any other prerequisites.
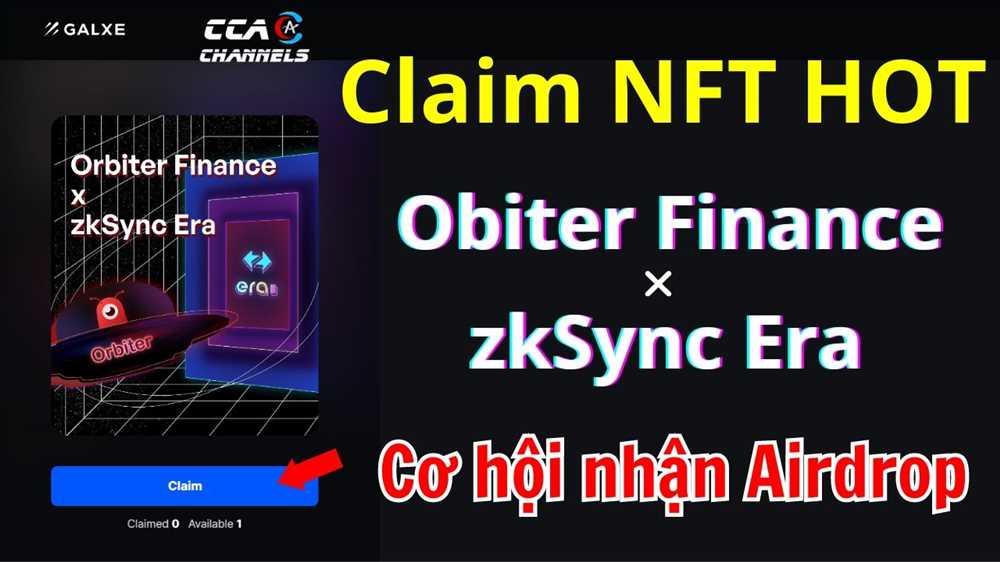
Step 4: Claim your NFT
Finally, it’s time to claim your Orbiter Finance X zkSync Era NFT! Follow the instructions provided in the Claim Portal to complete the claim process. Be sure to pay attention to any deadlines or time-sensitive requirements to ensure a successful claim. Once your claim is confirmed, you will officially be the proud owner of an Orbiter Finance X zkSync Era NFT!
Congratulations on successfully claiming your Orbiter Finance X zkSync Era NFT! This NFT represents a new era in finance and the possibilities that lie ahead. Keep an eye out for future updates and events from Orbiter Finance, as there may be additional opportunities to expand your NFT collection. Enjoy your journey into the world of Orbiter Finance!
Step-by-Step Guide: Claim Your Orbiter Finance X zkSync Era NFT

Welcome to the step-by-step guide on how to claim your Orbiter Finance X zkSync Era NFT. Follow these instructions carefully to ensure a smooth and successful process.
Step 1: Visit the official Orbiter Finance website and make sure you have an active account. If you don’t have an account, sign up and complete the registration process.
Step 2: Log in to your Orbiter Finance account using your registered credentials. Once logged in, navigate to the NFT section of the website.
Step 3: In the NFT section, locate the “Claim Your Orbiter Finance X zkSync Era NFT” option. Click on this option to initiate the claiming process.
Step 4: The claiming process will require you to connect your wallet. Ensure that you have a compatible wallet with sufficient funds for gas fees.
Step 5: Connect your wallet to the Orbiter Finance platform by selecting your preferred wallet option from the available choices. Follow the on-screen instructions to complete the connection process.
Step 6: After connecting your wallet, you will be prompted to sign a transaction to verify your ownership of the claimed NFT. Review the transaction details carefully before signing.
Step 7: Once you have successfully signed the transaction, the claiming process will be complete. Congratulations! You have now claimed your Orbiter Finance X zkSync Era NFT.
| Step | Description |
|---|---|
| Step 1 | Visit the official Orbiter Finance website and sign up or log in |
| Step 2 | Navigate to the NFT section of the website |
| Step 3 | Click on “Claim Your Orbiter Finance X zkSync Era NFT” |
| Step 4 | Connect your wallet |
| Step 5 | Select your preferred wallet option and follow the instructions |
| Step 6 | Sign the transaction to verify ownership of the NFT |
| Step 7 | Claiming process complete |
Create a zkSync Wallet
To claim your Orbiter Finance X zkSync Era NFT, you will need to create a zkSync wallet. Follow the steps below to create your wallet:
- Go to the zkSync website
- Click on the “Create Wallet” button
- Choose a secure password for your wallet and enter it in the provided field
- Confirm your password by entering it again
- Click on the “Create Wallet” button
- Make sure to safely store your wallet information, including your password and recovery phrase
- Once your wallet is created, you will be able to access it by entering your password
Now that you have created your zkSync wallet, you are ready to claim your Orbiter Finance X zkSync Era NFT. Follow the remaining steps in this guide to complete the claiming process.
Connect Your Wallet to Orbiter Finance
In order to claim your Orbiter Finance X zkSync Era NFT, you will need to connect your wallet to the Orbiter Finance platform. This will allow you to interact with the smart contracts and perform actions such as claiming your NFT.
Step 1: Install a Wallet Extension
If you don’t already have a wallet extension installed, you will need to choose and install one. Some popular options include MetaMask, Trust Wallet, and Coinbase Wallet. Follow the instructions provided by the wallet extension to set it up and create a new wallet if needed. Make sure to secure your wallet with a strong password and backup your recovery phrase.
Step 2: Connect Your Wallet
Once you have your wallet extension installed, open the Orbiter Finance website and click on the “Connect Wallet” button. A pop-up window should appear with a list of supported wallets. Select the wallet extension you installed in Step 1.
Follow the prompts from your wallet extension to connect it to the Orbiter Finance platform. You may be asked to provide permission for the website to access your wallet. Make sure to review and understand the permissions you are granting before confirming.
After successfully connecting your wallet, you should see a confirmation message on the Orbiter Finance website. Your wallet address will also be displayed, indicating that you are now connected.
Once your wallet is connected, you are ready to proceed with claiming your Orbiter Finance X zkSync Era NFT. Follow the next steps provided in the guide to complete the claiming process.
Verify Your Eligibility
To claim your Orbiter Finance X zkSync Era NFT, you need to verify your eligibility. Follow the steps below to ensure that you meet the requirements:
- Connect your Ethereum wallet: Make sure you are connected to an Ethereum wallet that holds the necessary tokens for the claim. You can use any Ethereum wallet that supports ERC-20 tokens.
- Check your token balance: Verify that you have the required amount of tokens in your wallet. The exact amount needed will be specified in the claim instructions.
- Confirm your address: Ensure that the Ethereum wallet address you are connected to is the same address you used to participate in the Orbiter Finance X zkSync Era event.
- Complete any additional requirements: Some NFT claim processes may require you to complete additional steps, such as filling out a form or providing additional information. Make sure you fulfill all the necessary requirements as outlined in the claim instructions.
Note: It is important to follow the instructions carefully and double-check your eligibility before proceeding with the claim process. Once you initiate the claim, it may not be reversible.
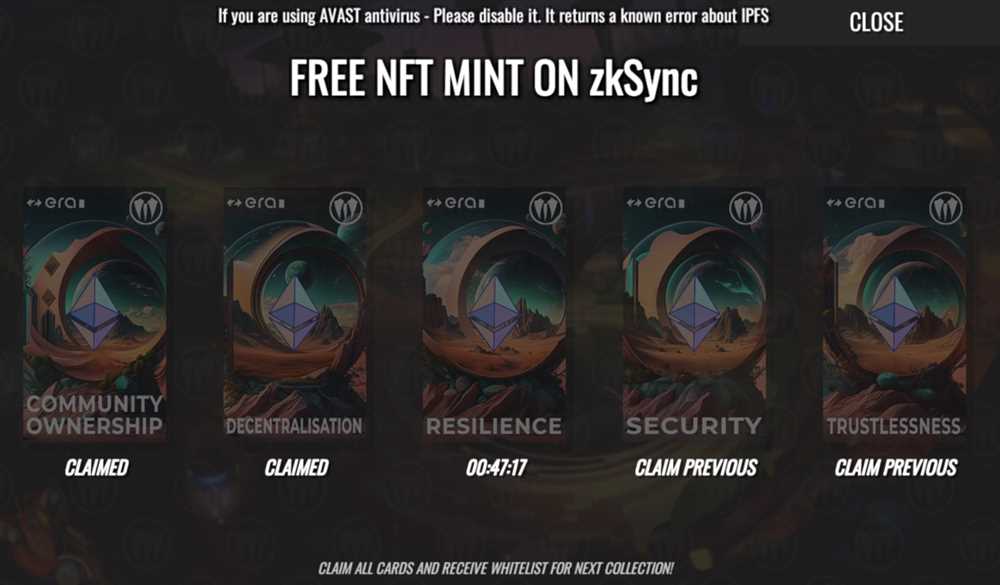
Claim Your zkSync Era NFT
To claim your zkSync Era NFT, please follow the step-by-step instructions below:
Step 1: Connect Your Wallet
First, make sure you have a compatible wallet that supports zkSync. Connect your wallet to the Orbiter Finance platform.
Step 2: Verify Your Eligibility

Before claiming your zkSync Era NFT, you need to verify your eligibility. Check if you meet the requirements and have completed any necessary tasks or actions specified by Orbiter Finance.
Step 3: Access the Claim Portal
Once your eligibility is confirmed, navigate to the Claim Portal on the Orbiter Finance website. This is where you will complete the process to claim your zkSync Era NFT.
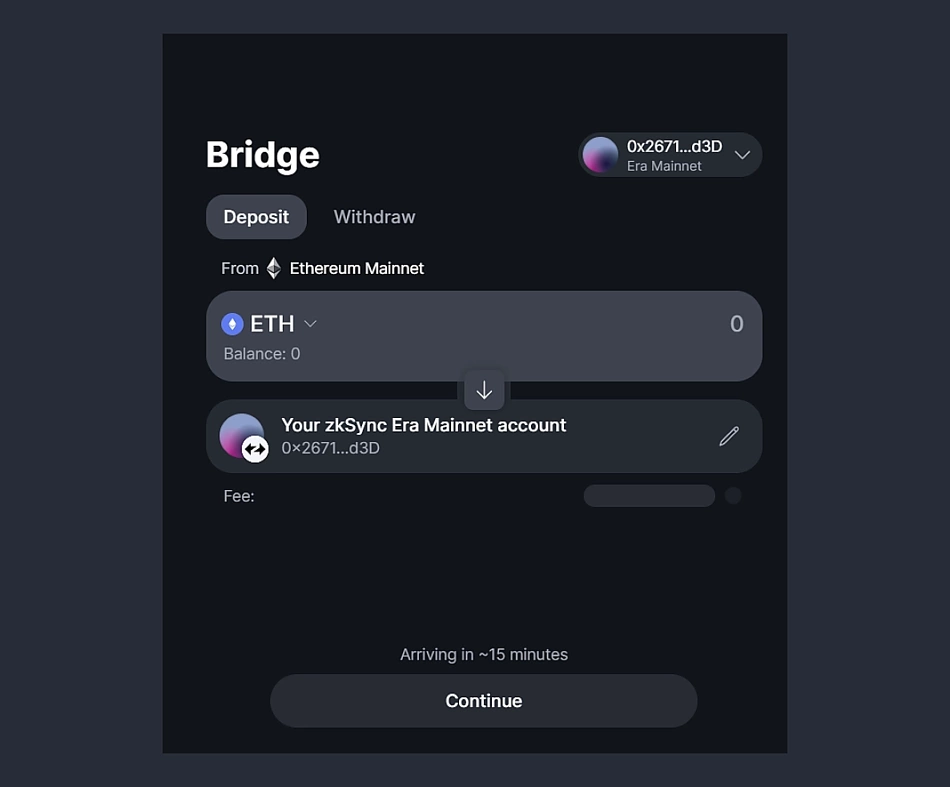
Step 4: Connect with zkSync
Follow the instructions on the Claim Portal to connect your wallet with zkSync. This will enable the necessary transactions to claim your NFT on the Ethereum blockchain.
Step 5: Complete the Claim Transaction
Once connected, you will need to complete a transaction on the zkSync network to claim your NFT. Make sure to review the details and confirm the transaction.
Step 6: Wait for Confirmation
After the transaction is submitted, wait for confirmation from the Ethereum network and zkSync. This may take some time, so be patient and do not close the Claim Portal until the process is complete.
Once the confirmation is received, you will officially own your zkSync Era NFT! Make sure to check your wallet and verify that the NFT has been successfully claimed.
Enjoy and Share Your New NFT!
Congratulations on claiming your Orbiter Finance X zkSync Era NFT! Now that you have your unique piece of digital art, it’s time to enjoy and share it with the world.
First, take some time to marvel at the intricacies and details of your new NFT. Each Orbiter Finance X zkSync Era NFT is carefully crafted to represent a distinct moment in time, making it a truly special addition to your collection.
Next, consider showcasing your NFT on different platforms and social media channels. Share it with your friends, fellow collectors, and enthusiasts who appreciate the beauty and uniqueness of NFTs. By sharing your NFT, you can spark conversations, engage with the community, and potentially even connect with other like-minded individuals.
Remember to give credit to the artist and provide any additional context or information about the artwork. This helps to promote the artist’s work and enhances the overall appreciation and understanding of your NFT.
Whether you decide to display your NFT in a digital art gallery, set it as your profile picture, or simply keep it in your private collection, make sure to consider its security. NFTs are valuable digital assets, so it’s important to store and protect them properly. Consider using a secure digital wallet or a trusted marketplace to ensure the safety of your NFT.
Lastly, don’t forget to enjoy the experience of owning a unique piece of digital art. NFTs allow us to immerse ourselves in a new form of art and creativity, and it’s a thrilling journey to be a part of. So sit back, relax, and appreciate the beauty and significance of your Orbiter Finance X zkSync Era NFT!
Disclaimer: The information provided in this article is for informational purposes only. It should not be considered as financial or investment advice. Please do your own research and consult with professionals before making any investment decisions.
Question-answer:
What is Orbiter Finance?
Orbiter Finance is a decentralized finance (DeFi) platform that aims to bring liquidity to the NFT market. It provides users with opportunities to earn passive income through staking, farming, and lending.
What is an NFT?
An NFT, or non-fungible token, is a unique digital asset that represents ownership of a particular item, such as artwork, music, collectibles, or virtual real estate. Unlike cryptocurrencies like Bitcoin or Ethereum, NFTs cannot be exchanged on a one-to-one basis.
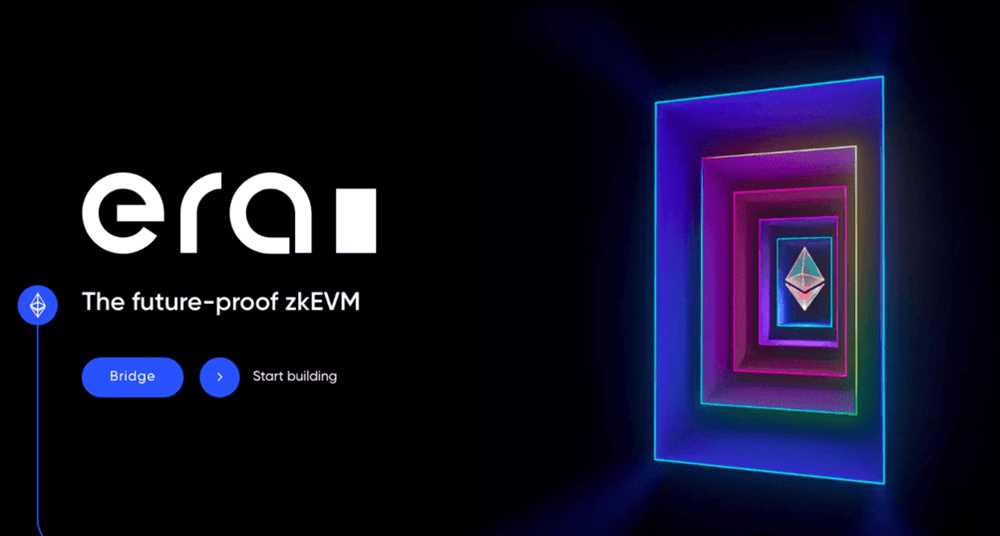
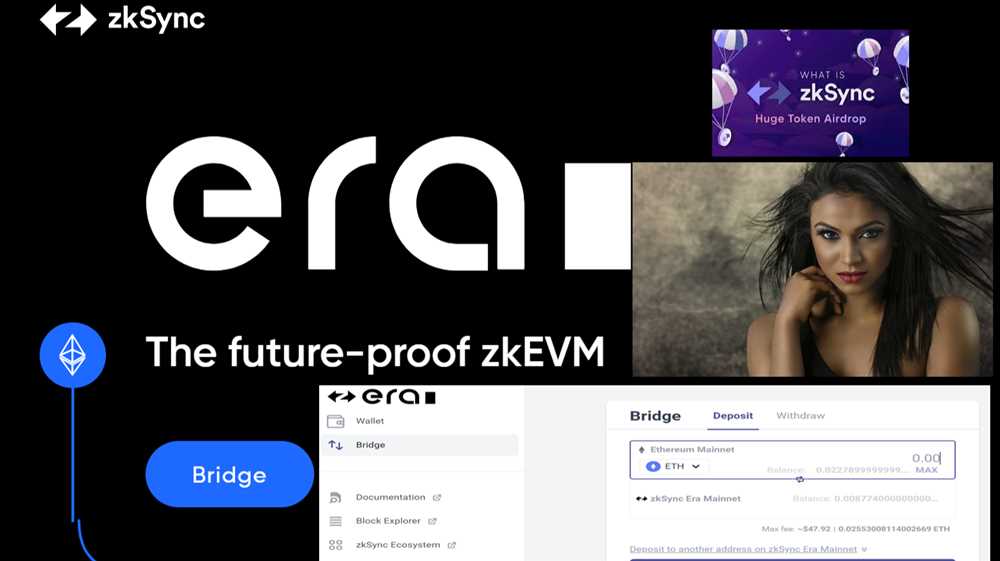
What is zkSync Era?
zkSync Era is an upgrade to the zkSync layer 2 scaling solution for Ethereum. It aims to significantly reduce transaction costs and improve the speed of transactions on the Ethereum network. With zkSync Era, users can perform transfers and interact with DeFi protocols at a fraction of the cost and time compared to using the Ethereum mainnet.
Video:
How to Use zkSync, Ramp & Orbiter – Tutorial, Airdrop & more
How to Get a ZKSync AIRDROP Step-by-Step Guide (INSANE $$$ potential!)
Related Posts

Phishing Warning: Suspicious Activity Detected in Orbiter Finance Discord Channel
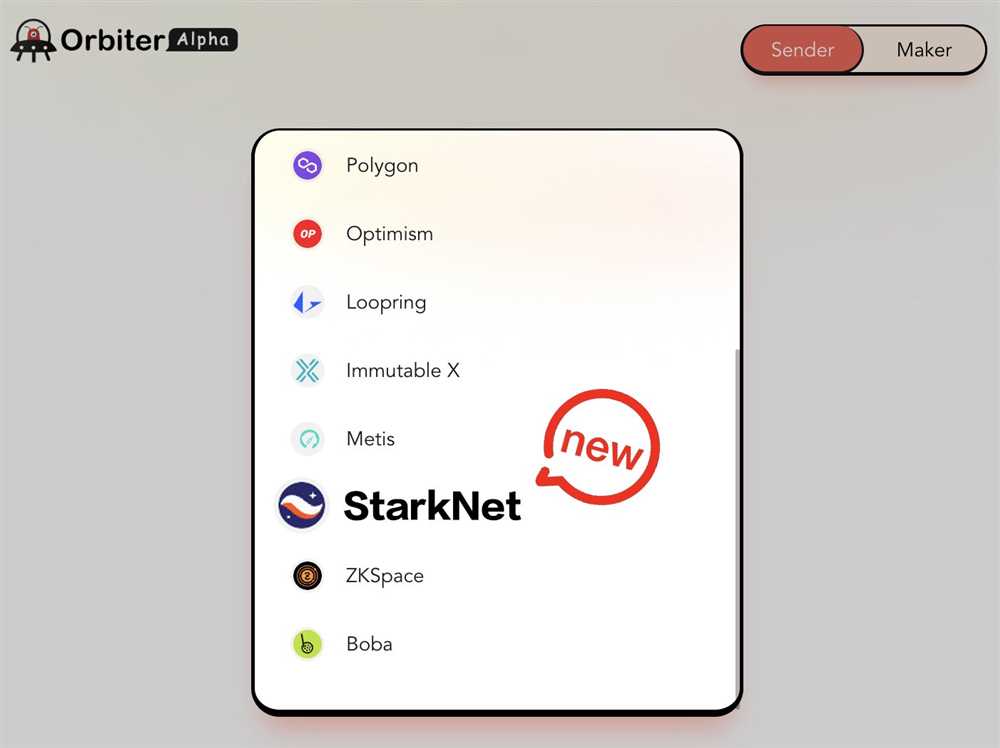
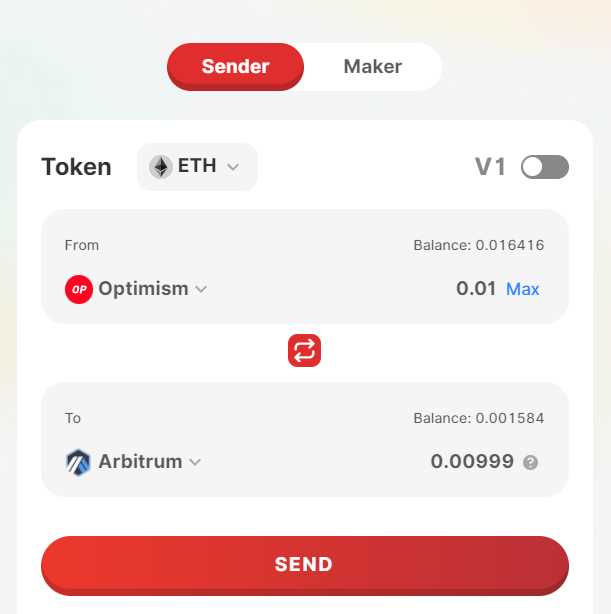
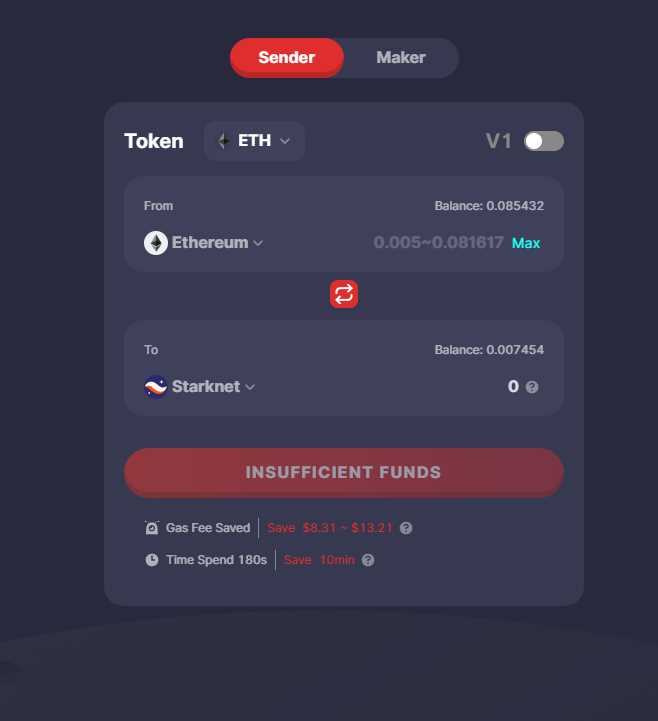
Orbiter Finance Revolutionizes Crypto Transactions with Seamless Integration to StarkNet and Other Networks